Showing posts with label Raspberry. Show all posts

Sunday, 25 March 2018

Raspberry Brownies

Once a month, I attend a leadership team meeting for my company. It is a day-long affair, and being finance I usually get to go first, while everyone still is paying attention and before their brains have turned to mush.

But this month, before looking at footfall, at profit analysis, at department expenditure, we had another pressing matter to attend to.

"Right," said my boss, "T is running late thanks to Scotrail, so we should probably talk about her imminent birthday."

Turns out T was about to hit a landmark number. Balloons were required (which requires serious planning when you have motion sensors linked to alarms in your office) and cake was needed. My German colleague and I eyed each other across the table, her being the more frequent office baker.

"I can make a cake." I declared. "Unless you want to?"

She gave a shrug. "Nah, you go for it."

But what kind??? With furrowed brows, we tried to recall any allergies, any flavour aversions, any exclamations of favourites on previous baking occasions, but we drew a blank. Moments later, T arrived and the conversation was cut short.

So numbers were discussed, charts were analysed, and then later, as conversation drifted over tea and biscuits (the bourbons always disappearing first) my boss turned the conversation towards confections, eyed T and asked "so, T, if you had to choose one perfect cake, what would it be?"

She looked down, running through her mental list of cakes, and said "ooh, something chocolate. With raspberries. And coconut. I don't know, something like that!"

To the internet I went, looking for something that would travel well (ideally, by bicycle) and that ticked at least 2 of those three boxes. Raspberry brownies came up as the most likely option to please, and while I could have experimented by adding a bit of coconut, I wasn't willing to risk it since I hadn't tried this recipe before. As it was, I feared I had overdone them, so sent them in with instructions to give constructive feedback (I wouldn't be in work that day), and was told the following:

"Was lovely. Looked overbaked on outside, but was all gooey on inside, and great taste. So yeah, def do them again. Raspberry flavour came through, everyone loved it. A winner." (this person was given strict instructions to tell me if they had been overcooked so I would know if to adjust baking times, they were not being overly critical)

"Fabulous brownies, I've just inhaled one."

"Although gingerless, it was OUTSTANDING." (someone who likes ginger. A lot.)

"Even I loved it." (a person who doesn't generally eat sugar)

"Brownies are heaven."

"Brownies are yummity moo moo. You need to make again."

So I will try to make these again sometime, and maybe then I'll get more photos than just the one taken above.

Ingredients

  • 200g dark chocolate , broken into chunks
  • 100g milk chocolate , broken into chunks
  • 250g pack salted butter
  • 400g soft light brown sugar
  • 4 large eggs
  • 140g plain flour
  • 50g cocoa powder
  • 200g raspberries

Method

  1. Heat oven to 180C/160C fan/gas 4. Line a 20 x 30cm baking tray tin with baking parchment. Put the chocolate, butter and sugar in a pan and gently melt, stirring occasionally with a wooden spoon. Remove from the heat.
  2. Stir the eggs, one by one, into the melted chocolate mixture. Sieve over the flour and cocoa, and stir in. Stir in half the raspberries, scrape into the tray, then scatter over the remaining raspberries. Bake on the middle shelf for 30 mins or, if you prefer a firmer texture, for 5 mins more. Cool before slicing into squares. Store in an airtight container for up to 3 days.


Saturday, 28 May 2016

Bakewell Tart

The panic continues, folks.

BBC Food will be coming to an end, and with it, its searchable index of 11000 recipes, a resource that has been invaluable to me and countless others. Whenever trying something new, it is the first site I tend to go to, as its recipes are reliable, its comments useful.

But it don't make no money, so it gots to go. Before it does, I shall be building up an arsenal of recipes such as the one for this.


Don't be distracted by the stars, it is the tart we made here. This was it competing with another mum's cupcakes for the attention of 8 year old boys. The cupcakes won, dammit. Had it been the Sunday church crowd, it would have been a different story, but this time, I failed miserably in providing the most tempting cake on offer.

As far as tarts go, this one is a pretty simple one. The base pastry is just butter whizzed up in a food processor with flour, plus enough water to bind it together, then rolled out for my removeable base tart tin. Naturally, I made sure it was flawless.


It chilled in the fridge for a while  (to prevent too much shrinkage when baking) then on went some scrunched up baking parchment followed by my baking beans.


Baking parchment always feels to me like the budget cousin of waxed paper. Can you still get that anywhere? I'd like some just for wrapping sandwiches to bring to work, to make it look like I've been to some fancy artesan deli instead of using Lidl's finest pb&j.

Anywhoo, while blind baking the pastry, I put together a mixture that this photo makes look pretty revolting.


It was ground almonds, melted butter, sugar, almond extract and eggs.

The pastry came out, and you can see a wee patch at the lower edge where a hole had appeared.


In went a whole bunch of raspberry jam


Then my youngest son was kind enough to take this "action shot" while I explained that no, we weren't making chocolate chip cookies.


Oh, and this is me. Backlighting is awesome. My hat is so I don't get hair in your cake. You're welcome.


Then on went the almond mixture.


And then sliced almonds were scattered on top.


Back in the oven it went. I have to put it on a tray for 2 reasons:

1) It's a lot easier to put in and out of the oven

2) I always forget it's a removeable base, so inevitably if I DON'T use a tray, I grab the edges, then manage to shove the bottom part of the pan up on one side and not the other, smashing the tart into irrecoverable ugliness. So yeah, use a tray.


You may have noticed I didn't trim the edges earlier. The British Bake off hosts seem to think you should trim the edges after it's cooked, while it's still warm, to prevent the sides sliding into the bottom of the dish. You also can trim it more neatly. I do everything the judges say, so I waited until now to cut off the overhanging pastry.


Ok, so I didn't add a glazed icing to this tart like Mary Berry says you should. I don't think it needs it. It looks pretty enough as it is, here seen in its vintage yellow tupperware to be safe on its mile long journey.


And here, sliced on site next to WAY popular star buns. Oh well, at least I brought it on the right day this time.


The link to the recipe (while it still exists) is here, otherwise you'll find my usual styling genius of copy and paste with the original recipe below:


Ingredients

For the shortcrust pastry

For the filling

For the optional icing


Method

  1. To make the pastry, measure the flour into a bowl and rub in the butter with your fingertips until the mixture resembles fine breadcrumbs. Add the water, mixing to form a soft dough. Or just throw the butter and flour into a food processor, blitz it, and add water until you get a soft dough. Whichever.
  2. Roll out the dough on a lightly floured work surface and use to line a 20cm/8in flan tin. Leave in the fridge to chill for 30 minutes.
  3. Preheat the oven to 200C/400F/Gas 6 (180C fan).
  4. Line the pastry case with foil and fill with baking beans. Bake blind for about 15 minutes, then remove the beans and foil and cook for a further five minutes to dry out the base.
  5. For the filing, spread the base of the pastry generously with raspberry jam.
  6. Melt the butter in a pan (or in a chipped stoneware teacup in the microwave), take off the heat and then stir into the sugar. Add ground almonds, egg and almond extract. Pour onto the pastry and sprinkle over the flaked almonds.
  7. Bake for about 35 minutes. If the almonds seem to be browning too quickly, cover the tart loosely with foil to prevent them burning.
  8. Optional : Meanwhile, sift the icing sugar into a bowl. Stir in cold water and transfer to a piping bag.
  9. Once you have removed the tart from the oven, pipe the icing over the top, giving an informal zig zag effect.

Wednesday, 11 May 2016

Lemon Raspberry Bundt Cake

(For those who want to skip straight to a copy of the recipe, just go here and use raspberries instead of lemons)

Cricket season has arrived in Edinburgh. What this means is that once a week I take my eldest over to our local grounds for practice. With the sun shining, the children all in their cricket whites, and just the sound of bats hitting their targets, I feel both excited and guilty about being part of it. The pitch is situated in one of the more affluent parts of town, overlooked by a grand mansion with multiple bay windows and a vast garden extending down a steep slope. The views from the pitch extend over to Arthur's Seat and Salisbury Crags and are magnificent in the evening light. Outside are parked family Mercs, Audis, and Range Rovers, and inside the walls lean custom made bicycles that have secure garage storage when at home. Meanwhile the clubhouse itself is just a glorified shed and the club members are prodominantly middle class folk who lean towards the upper end of the spectrum, many obviously eager to climb up, up, up to the top 1%. The club do not discriminate in their members; places are awarded on a first come, first serve basis, but not many working class folk are in the area. So yeah, it all feels just a tad elitist, just not as blatant as an invitation only country club.

I don't have a new coat, a fancy bike, or a flashy car to show off, so instead I bring culinary creations to prove my worth. You see, part of the charm of the place is a folding table set up at the side, quietly selling tea, coffee, juice, and homemade cakes. Parents nibble delicacies and sip tea on wooden benches as they watch their sons practice (yes, all boys, somehow no girls have expressed interest in joining our local club), then at the end a swarm of young men surround the table to clear it of every last crumb, thrusting their 50 pence pieces at whichever overwhelmed mother has been pulled into duty that week. I have carefully avoided the baking table's rota, telling myself if I just bring cake every week I will have fulfilled my duties as a cricket mother without having to endure excessive smalltalk.

But what to bring? Last week I delivered some chocolate chip cookies which disappeared quickly, but I discovered the other day that somehow I'd managed to hide 5 different bags of raspberries in my freezer.  This meant whatever I made this week would have to be dotted with these berries in order to clear out space for the two monstrous bags of Costco chicken nuggets I had more recently shoved inside (don't judge). Aiming for a show-off factor, I pulled down my fleur de lis bundt tin. All it takes is a lot of oiling (hello, cooking spray, where were you when I needed you this week) a lot of cooling, and some tupperware to transport it and BOOM, you've got yourself a fancy cake. It can taste like sawdust, but people will still ooh and aah when they see it.

I only grabbed my i-device once I'd put it in the tin, as I was in a wee bit of a rush, but I just loved the look of the batter so much I had to take a photo. Berries make things look pretty.

,

Then in it went. As the berries were still frozen, and I had limited time, I cranked up the heat 30 degrees higher (Celcius) than the recipe said and chanced my luck. After an hour, it looked like this, which was good because the last time I made it at the lower temp it took over an hour and a half to cook through.


A few hours cooling, then I turned it out onto some parchment paper. A couple parts had stuck, but not too disastrously.


Then a quick stirring of lemon juice and icing sugar for a runny glaze. "IT'S DRIPPING!!!" my three year old son warned me. I reassured him that I meant for it to happen that way, but he just eyed me with great skepticism.


For the record, this is what it looked last time I made it with the slower cooking time and temp...and a more runny glaze:

Off it went to cricket. My pride climbed to unhealthy heights when I saw it was the cake that all the adults chose to consume with their evening cuppa. I don't have a photo of the what it looks like when you slice into it, but it really is inviting: golden cake dotted with fresh red raspberries. My cake lady status was preserved.

The meticulously copied and pasted recipe is below

INGREDIENTS

dIRECTIONS

  1. Preheat oven to 325*. Grease and flour a 10 inch Bundt pan. Sift together the 2 ¼ cups of flour, baking soda and salt. Mix in the lemon zest and set aside.
  2. With an electric mixer, cream together the butter and sugar until light and fluffy. Beat in the eggs one at a time, then stir in 1 Tb. lemon juice. Alternate beating in the flour mixture and the yogurt, mixing just until incorporated.
  3. Toss the raspberries with the remaining ¼ cup of flour. Gently mix them into the batter.
  4. Pour the batter into the Bundt pan. Bake in the preheated oven for 60 minutes, or until a toothpick inserted into the center of the cake comes out clean.
  5. Allow to cool 10 minutes in the pan, then turn out onto a wire rack and cool completely. Once cooled whisk together the remaining 2 Tb. of lemon juice and the powdered sugar. Drizzle over the top of the cake.

Thursday, 9 July 2015

Raspberry Almond Scones

Scones are good, and these are awesome: almond raspberry scones. What's even better is that my local corner shop stocks packs of frozen raspberries in their small freezer section, meaning it is relatively easy to keep them in stock.


These photos have been sitting in my account for well over a month, so I suppose it is time I posted them. It is a fairly simple recipe. First go in flour, baking powder, sugar, and salt:


Then a pastry blender (or two knives) are used to cut the butter into the flour.


Then in goes milk or cream plus a few drops of almond extract


Then almonds


And lastly you mix in the berries.


The freezing berries make the dough go funny, and everything sticks to your hands as you form the dough in a big, weepy pink ball, but it's worth it. I just plop the ball on a floured baking sheet.


Then cut it up


Then separate the pieces so that they may grow and develop as independent scones.


Then bake them, ideally turning them through the baking so that they cook more evenly than this.


I think these ones went back in for a spell.


Then a simple glaze of icing sugar, almond extract, and milk goes on top via a handy dandy freezer bag with the tip cut off.


With the added almonds, now they are posh enough for Fancy Nancy.


I just love being fancy.


Here is the recipe, copied and pasted (or you could visit here), obviously from someone sponsored by Land O Lakes butter: 

Raspberry Almond Scones


Yield: 8 scones
Prep Time: 10 minutes
Cook Time: 15-18 minutes
Total Time: 30 minutes
Raspberry Almond Scones are perfect for breakfast, brunch, or tea time! Don't skip the almond glaze, it is heavenly!

ingredients:

2 cups all-purpose flour
1 tablespoon baking powder
3 tablespoons granulated sugar
1/2 teaspoon salt
6 tablespoons cold, unsalted Land O Lakes® Butter, cut into 1/4-inch cubes
1 cup heavy cream, plus 1 tablespoon, divided
1/4 teaspoon almond extract
1/3 cup sliced almonds
1 cup raspberries
For the Almond Glaze:
1 cup powdered sugar
4-5 tablespoons heavy cream or milk
1/2 teaspoon almond extract
1/4 cup sliced almonds, for garnish
Land O Lakes® Butter with Canola Oil, for serving, if desired

directions:

1. Preheat oven to 400 degrees F. Line a large baking sheet with parchment paper or a Silpat and set aside.
2. In a large bowl, whisk together flour, baking powder, sugar, and salt. Quickly cut in the butter, using your hands, two knives, or a pastry blender. Mix until mixture resembles coarse meal, with a feel larger butter lumps. Pour 1 cup of heavy cream and almond extract over the ingredients and stir with a spatula until dough begins to form. Don't over mix. Gently fold in sliced almonds and raspberries. The raspberries will get a little smashed, but that is ok. The scones will still be pretty:)
3. Transfer dough to a floured countertop and knead dough by hand just until it forms a ball. Form scones by patting the dough into a 3/4-inch thick circle. Cut the scones into even triangles. We got 8 scones.
4. Place scones on prepared baking sheet. Using a pastry brush, brush scones lightly with the additional heavy cream. Bake scones for 15-18 minutes, or until scones are light brown. Cool scones on a wire cooling rack.
5. While the scones are cooling, make the almond glaze. In a small bowl, whisk together powdered sugar, heavy cream or milk, and almond extract. Whisk until you reach desired consistency. Drizzle glaze over the scones. Top with additional sliced almonds. Serve!
Scones will keep in an air-tight container for up to 2-3 days, but they really are best eaten the day they are made.

Monday, 6 April 2015

Frostbitten Raspberry Cake

Easter has come! I can consume sugar once more!

Maybe not in such intense proportions as just prior to Lent, but I can certainly have a slice of this baby:


I figured to get my sugar kick this Easter I should make a bit of an effort, so went for a recipe I spotted on Pinterest, found here. Mine sure isn't as pretty, but it is the first time I've ever used marscapone and the first time I ever made a white chocolate buttercream AND the first time I've made a "Russian Sponge", something which is nearly meringue in texture by first appearance as there is no fat in it at all - no butter, no yolks, nothin'.

The whole thing is a bit of a faff, something you'll see if you look at the recipe, and I was too busy checking the recipe to take photos at the same time (as I usually use a tablet device to take them, the same tablet that had the recipe on it) so it's just the finished item that you get to see. Poor you.

I did improvise somewhat:


  • I baked two layers rather than three and just slicing one in half to make three layers. It seemed to work well enough for us. 
  • I boiled off the booze in the liquer syrup (had to use cherry brandy rather than raspberry liquer) so that social services wouldn't come round and ask why I was drugging my 2 year old.
  • I used lemon juice rather than water in the raspberry compote, because that's what I do with raspberry coulis
  • I added even more fresh raspberries than the recipe requested, because there was room to do so and I had them
  • I didn't use gelatin in the mascarpone filling
  • I didn't manage to pipe much of the mascarpone filling as mine was too stiff - I burst the ziplock piping bag and ended up using a variety of kitchen utensils to get the darned stuff on the cake. 

Also, the decorations...
"Is that...rosemary...on the cake?!!" my husband asked.

"Yes," I answered, trying to sound like I knew what I was doing. I mean, technically it is edible. "You do get rosemary in cakes, you know," I said, bluffing. Thankfully, my son had my back.

"Yes, you do!" he nodded as he scarfed down his slice.

"Um...ok..." was all my husband could say.

So yeah, maybe leave it off if you make this.

Oh, and when I asked him to look at my creation in the fridge, he said "um, did you know a bunch of them fell off the side?"

"They are artfully placed there, I'll have you know" I answered. Hmph. 

When I had it on Easter day I wasn't too crazy about it, as it was fridge cold and hard to slice. But today I had another sampling at a more pleasant springtime room temperature, and it was much improved. Nice and light and real refreshing. 

If you do make this, wait for a special occasion. As you can see, there are a LOT of directions: 

Frostbitten Raspberry Cake
Author: Julia Frey of Vikalinka
Ingredients
For the Cake
Eggs, room temperature 5 large
Sugar 1 cup
Vanilla 2 tsp.
Flour 1 cup
For the Syrup (for soaking the sponge layers)
Raspberry liqueur ¼ cup
Simple syrup 1/4 cup
For the Mascarpone Cream
Mascarpone 250 gr/ 1 cup
Whipping Cream 250 ml/ 1 cup
Icing Sugar ¼ cup
Vanilla 2 tsp.
For the Raspberry Compote
Raspberries, fresh or frozen (I used frozen)1½ cups
Sugar ½ cup
Lemon juice 2 tbsp.
Fresh Raspberries 1 cup
For the White Chocolate Buttercream
White Chocolate, chopped (not chocolate chips) 5 oz/150 gr
Whipping/Double Cream ¼ cup
Unsalted Butter, softened 4 tbsp.
For decoration
Rosemary sprig1
Raspberries ¼ cup
Icing sugar for dusting
Instructions
For the Cake
1. Preheat the oven to 350F/180C.
2. Grease 3 8" cake pans and line them with parchment paper. (Russian sponge is very delicate so it's important to
use parchment paper for easy removal.)
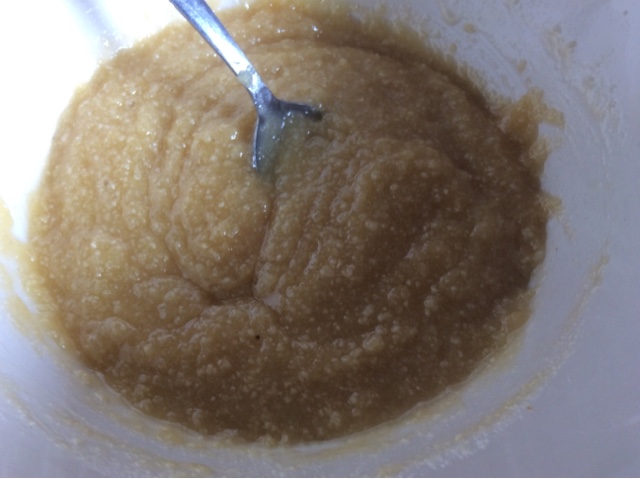
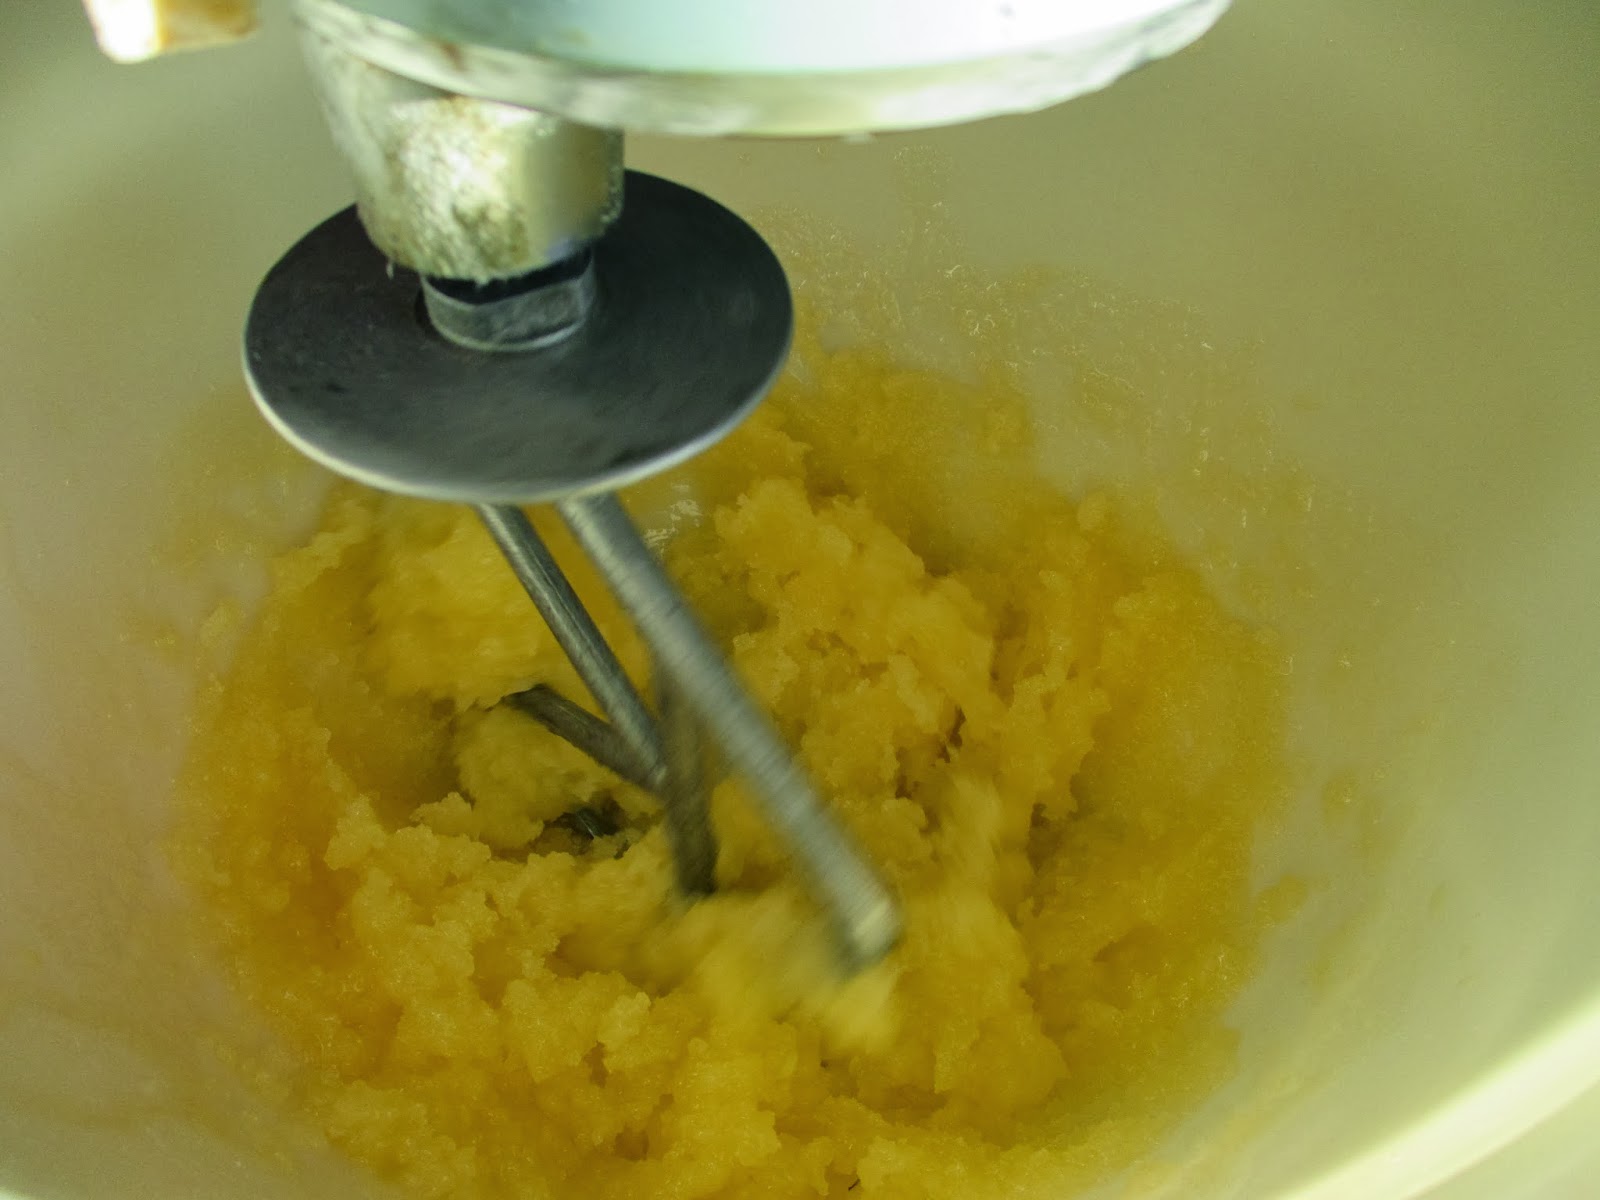
3. Crack 5 eggs at room temperature to a bowl of a stand mixer and add sugar and vanilla, beat at high speed for 5
minutes until the mixture is pale and triples in volume.
4. Fold in flour through a sifter in 56 additions blending it in gently after each addition. Your goal is to keep the
volume of the egg mixture so be very careful in this step of the process.
5. Divide your cake batter among 3 pans and bake for 2530 minutes until cake tester or tooth pick comes out
clean and the cakes have risen to the top of the pan. (I baked 2 layers and then 1 later).
6. Cool for 10 minutes and then run a knife around the edges of your pans to release the cakes and flip them over
on a wire rack to cool completely.
7. (After your cakes have cooled you can individually wrap them in plastic wrap for later use. You can bake you
sponge layers a day ahead.)

For Raspberry Compote
1. Combine 1½ cups of raspberries and sugar with water in a small saucepan and cook on low heat until thick and
mixture coats the back of a spoon. It will take about 15 minutes.
2. Remove from heat and process in a food processor or a blender until smooth.
3. Push through a fine sieve to get rid of the seeds.
4. Combine the compote with fresh raspberries and set aside.
For the Mascarpone Cream

1. Combine mascarpone, whipping cream, sugar and vanilla 
2. Whip until you can pipe it. 

For the Syrup
1. Combine raspberry liqueur with simple syrup (water and sugar mixed in equal parts).
2. Drizzle over the cake layers. (Russian sponge really benefits from being drizzled with a flavoured syrup since
there is no fat mixed into the batter and it can taste on the dry side without the syrup.)
How to assemble the cake
1. Load your mascarpone cream in a large piping bag with a plain round tip.
2. Pipe a border around the first drizzled with syrup layer, it will keep your raspberry compote from leaking out of
the sides.
3. Fill with half of your raspberry compote. ( It won't cover the entire layer, the berries will be spread sparsely.)
4. Then pipe in the mascarpone cream in the empty spaces and smooth it out with a spatula. You shouldn't have
any gaps.
5. Top with another layer and repeat the process.
6. Finish with the third layer.
For the White Chocolate Buttercream
1. Heat ¼ cream in a saucepan until it just simmers but not boiling.
2. Take off the heat and pour over chopped white chocolate in a medium sized bowl.
3. Let it sit for a couple of minutes and then stir until chocolate is melted into the cream.
4. Cool for 10 minutes and then start whipping in a stand mixer or with a hand mixer. (Hand mixer works better
here because of the small amount).
5. Mix for 10 minutes until light and fluffy, then start adding softened butter by a tablespoon, mix well until entirely
incorporated into the frosting after each addition. (You will have enough frosting for a thin layer around the cake.
If you like more frosting on your cake simply double the recipe but it will make a very sweet cake.)
6. Spread ½ of the buttercream over the cake and let it chill in the fridge for 20 minutes.
7. Coat your chilled cake with the other half of the frosting and decorate with rosemary and raspberries.

Saturday, 18 January 2014

Fresh Raspberry & White Chocolate Cookies

Stupid Pinterest.

I'd pinned a recipe that had been labelled "raspberry cream cheese cookies" and was all excited, as I thought, you know, that it would have CREAM CHEESE in it. Then the men's group teas and coffees Sunday rolled up and I thought "hey, I have some cream cheese and some raspberries, I'll check what else I need..." only to find...no cream cheese in the recipe. 

Now, I have nothing against white chocolate chips in cookies, it was just that the combination of the photo, the raspberries, and the mention of cream cheese were what made me pin the recipe. But, in spite of this misleading name, I still felt obliged to make the recipe. 

Was the whole thing a con? You help me decide.

Begrudgingly, I got together the ingredients. You'll notice there are two different types of white chocolate, as I wasn't sure how much the chopped up big bar would make, so I grabbed the milky bar buttons to bulk them up.


For once, and probably just because I was doing photos, I combined the flour, salt and raising agents in a separate bowl, mixed them up, and set them aside.


Next, in went some melted butter and sugar. It was a one handed job kind of day (thanks, baby/toddler), so we used the vintage stand mixer.


I do like it when recipes ask for melted butter. I hate having to get it to room temperature first.


And then I cracked open an egg and a yolk. Aren't they nice and bright?


In they went.


Until all was purdy and smooth. I can't say I like the plastic bowl, but I think the original bowl that came with this mixer was glass and shattered many moons ago. I still don't have a dough hook for this mixer, but I may just try this attachment and see what kind of job it does with bread dough.


Then in went vanilla in it's creepy ghostly form.


Then the flour mix. You'll notice the change in lighting, as I took the bowl out of the stand and mixed by hand as a small child emptied the cupboards.


Then we had some cookie dough.


So I added a half cup of chocolate chips. The handle is broken off of my half cup measure...and my 1 cup measure. One day I'll get nice metal ones with the measurements indented into the handle, but not today.


Also, some frozen raspberries.


At this point, I kind of wondered why I was bothering to make cookies...Why not just eat raspberries and white chocolate?


Oh well, what's done is done.


It said freeze the dough for a bit, but I was too impatient, so I just rolled it into large balls of dough and placed them on the sheets.


She said that I should cook them for 15 minutes at a low temp and they would look underbaked, so I followed her orders.


Samples revealed that a bit more baking wouldn't hurt them, as the raspberries do add a lot of moisture, so I cooked the others a bit longer.


So yes, they were good, very good, but they weren't actually cookies containing cream cheese, so I still feel slightly cheated. And I think you'd need to eat them pretty soon before the moisture of the raspberries takes hold and makes them spoil. Bummer, huh?

Recipe from Anecdotes and Apples

2 1/4 cup flour
1/2 teaspoon baking soda
1/2 teaspoon salt
1 1/2 cups granulated sugar
12 tablespoons butter, melted and cooled
1 egg plus 1 egg yolk
1 teaspoon vanilla extract
1 cup frozen raspberries
1/2 cup chopped white chocolate
Line two cookie sheets with parchment paper. In a medium bowl, whisk together flour, baking soda, and salt. Set aside. In a mixing bowl, cream together sugar and melted butter (about 2 minutes). Add eggs and stir until combined. Pour dry ingredients into wet ingredients and stir until a cookie dough begins to form. Fold in frozen raspberries and white chocolate. Allow batter to chill for 15-30 minutes in freezer.
Meanwhile, preheat oven to 325 degrees Fahrenheit. Remove batter from freezer and firm into large, 2-3 tablespoon sized balls of dough. Arrange on prepared cookie sheets. Bake in preheated oven for 15 minutes (cookies should look slightly undercooked). Allow to cool completely on cookie sheets before removing (and enjoying!)