Friday 24 January 2014

Lemon Drizzle Cake

As you may have guessed, I do a fair amount of baking, but there is one recipe that people request more than any other: lemon drizzle cake. It's a fairly simple cake, lifted to incredible heights by the fact that you soak the cake in a syrup made simply of lemon juice and icing sugar. It is lovely both paired with a cup of tea or presented as pudding, always feeling light thanks to the citrus content.

On this occasion I was making it as a thank you for special someone who hemmed my husband's trousers and gave us chocolate for our Rocky Road. My children had been excited to see me getting out baking ingredients, and were disappointed when I immediately explained the cake was for someone else. However, when I explained that person was the one who made our recent Rocky Road possible, they were in full agreement that said person deserved cake!

I got started once the kids were in bed, meaning everything was not at room temperature. 


This was one hard block of butter. If you are skilled, you might manage to just soften it slightly on a low setting in your microwave, but I always end up with a molten crater and hard edges when I try doing that, so instead...


I beat the butter into submission. It took a good few minutes, but eventually the friction did the job just fine.


Then in went the caster sugar. Granulated sugar in the USA has the same consistency as caster sugar here...why is that? Granulated sugar here is slightly chunkier.


Ah, nice and creamed.


Then lemon zest was added so it looked like this.


Then the eggs went in one at a time. I used to just always add the eggs all at once, in spite of instructions saying to do it one at a time. Then I read an article in Cooks Illustrated that said you do in fact get a superior cake if you do them one at a time and you'll spend less time overall mixing it (it takes fewer strokes to do it one at a time). So now, when I remember to, I do them one at a time. It's all very scientific here in the Calwell kitchen.


At this point the mixture looked a bit curdled and gross. That's normal in my experience.


I trusted myself that it would get better.


And saying a small prayer, added the flour.


Once that improved it, in went some milk. The photo at the top shows a whole milk container, but it actually contained semi skimmed milk, as my other milk jug split slightly, spilling milk all over my stairwell. I managed to save enough to decant into the jug above and have been fooling everybody with it since. Annoyingly it was also just after the stair cleaners had visited.


There - a nice, smoothish batter. It went into a lined loaf tin, but I forgot about taking a photo until it was in the oven, and I'm not about to show you what the inside of my oven looks like.

It ain't pretty, I can tell you that.


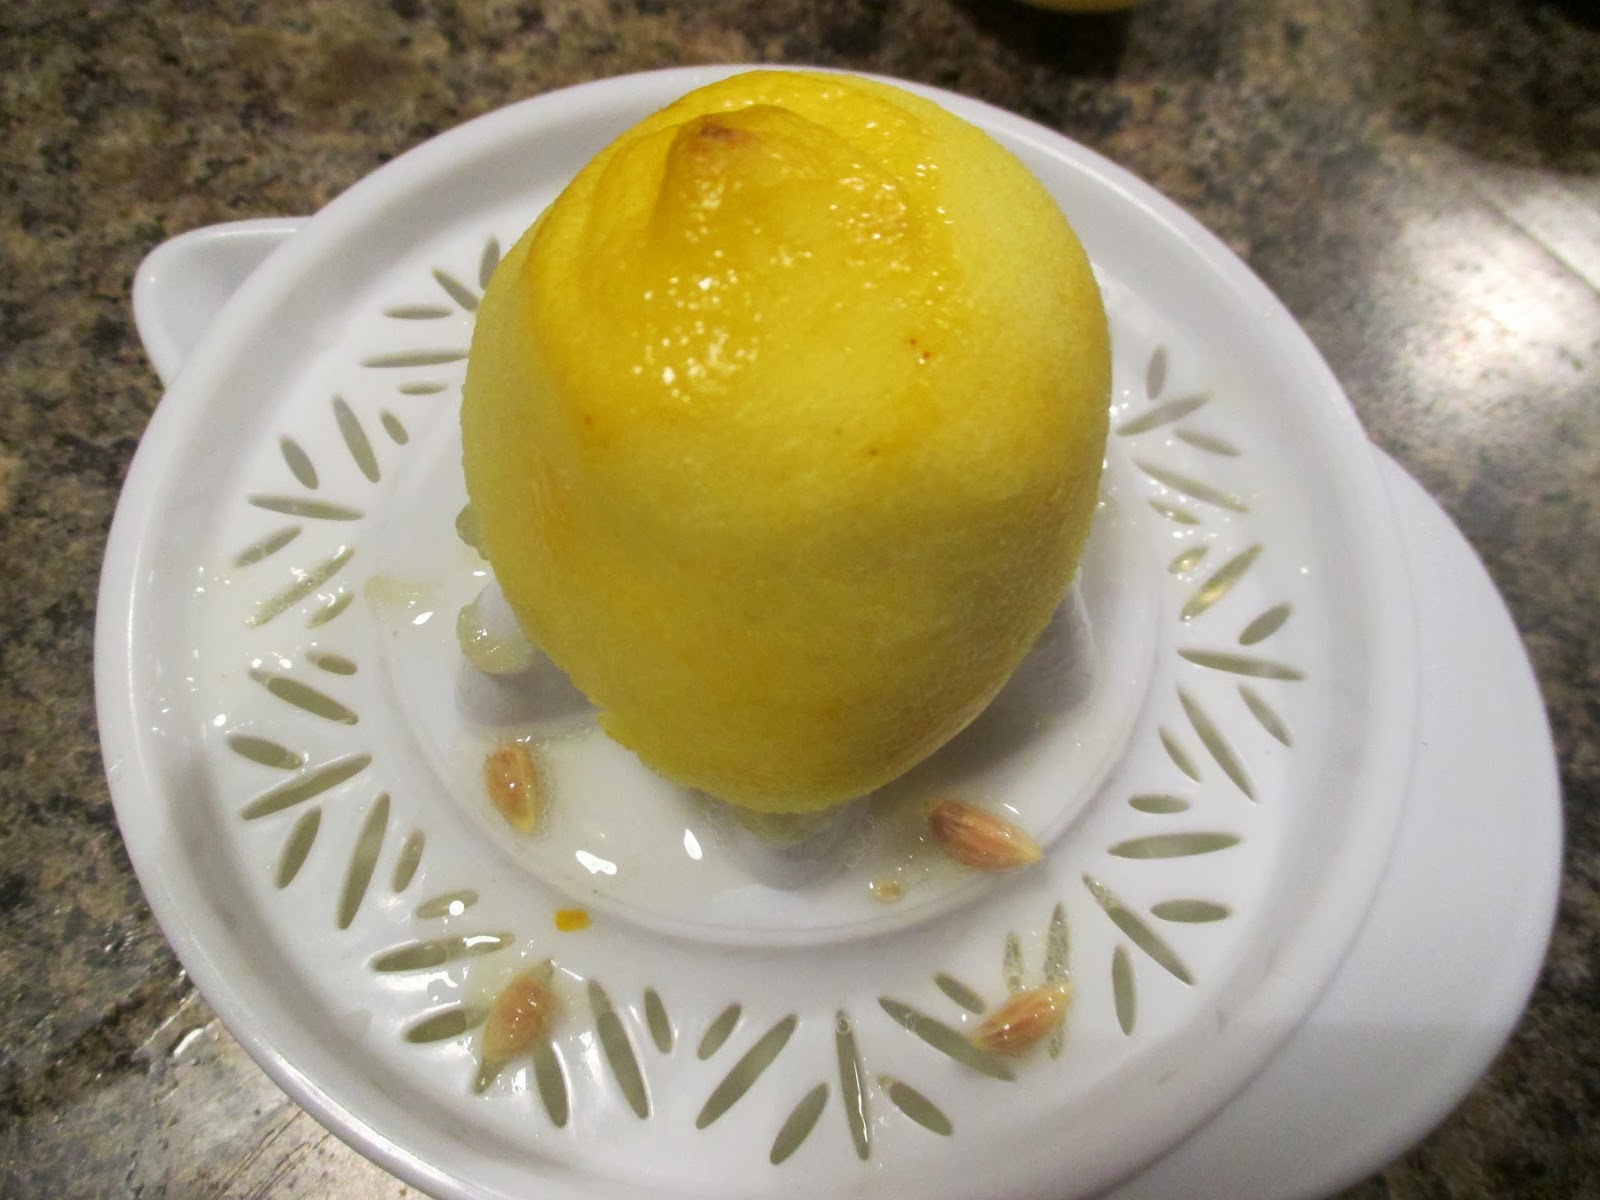
While it baked, I juiced a couple of lemons. At the moment, this piece of plastic is one of my son's favourite toys.  Toddlers...


On went some icing sugar...and some caster sugar, since I ran out of icing sugar. Oops.


I stirred it to combine it and then heated it briefly in the microwave to help most of it dissolve. If it doesn't all dissolve, that's fine - it leaves a nice crusty sugary glaze on the top when that happens.


Out came the cake.


I then took a toothpick (skewers work better, or simply a sharp knife will do) and poked holes all over the top.


Like so.


Then I poured on the syrup.


And it oozed in all over the top, drifting down the sides. I then left it overnight to cool and soak all the juices through.


The next day I brought it in and presented it to my colleague. She immediately announced that a whole cake was too much for her, that she would end up eating it in one sitting.

So instead, she chopped it in half.


Because it's totally ok to eat half of this cake. Not that I would know what that's like. Ahem.

She gave half of it to another colleague who gets really excited about my baking. REALLY excited.


You can see how the syrup drenched the middle of the cake here - heaven on a plate I tell you.

Nigella, you're the best.

Lemon Drizzle Cake (adapted from recipe for Lemon Syrup Loaf Cake in How to be a Domestic Goddess)

Preheat oven to 180C/350F

125g butter
175g caster sugar 
2 eggs
zest 1 lemon
175g self-raising flour
4 Tbsp milk

for syrup:
juice 2 lemons
100g powdered sugar

1 loaf tin - preferably lined for ease of cake removal

Put butter in large bowl.  Beat and mash and mix with wooden spoon until fairly fluffy.  Add sugar and beat and mash and mix until a lighter shade of fluffy and even consistency throughout.Add zest & eggs one at a time and mix thoroughly.  Fold in flour then mix in milk.  Pour into loaf tin and bake.  Test after 45 minutes (knife should come out clean). Meanwhile, heat lemon juice and sugar until sugar is dissolved (either on the hob or in short bouts in the microwave).  Once the cake is out of the oven, punch loads of holes in it with a knife or skewer and pour the syrup over the top.  Leave to cool in the tin so all the juices are absorbed fully.


Tuesday 21 January 2014

Rocky Road Crunch Bars

So, don't know if you heard, but during December, our little family won the jackpot. The big one. 

Oh yes.

We won the nursery Christmas raffle hamper! This luxurious cardboard box contained a variety of quality items, such as booze, plum pudding, more packets of biscuits than you can shake a stick at, AND creamed corn. Seriously, these other parents know how to provide a party.

One of the biscuit containers was rich tea biscuits, a personal favourite for dunking in tea. BUT last week, a colleague of mine brought in some "cooking chocolate" that she didn't want. She said it would go off before she would eat it so she was giving it to me. Yes, I had a hard time understanding that, too.

So when I have a cupboard full of rich tea biscuits and chocolate, you know what recipe hammers its way into my head? Rocky Road. Or specifically, Nigella Lawson's Rocky Road Crunch Bars. I also like to think of it as Royal Wedding Cake.

I had invited a fellow mother of three over for a cup of tea and decided the presentation of this treat would distract from the messiness of the household (not that a fellow mother of three young ones would really be critical) and my daughter was more than happy to help whip up a batch of these calorific babies.


 Truly a 20th century processed innovation, this one.


First, we broke up the chocolate in a bowl and added a big blob of butter and some golden syrup.


While it melted in the microwave, I cut up some marshmallows.


My daughter happily volunteered to help with stirring the melting chocolate mixture.


And she also enjoyed taking out some aggression on the packet of biscuits. In fact, she managed to split a hole in the bag and even offered to eat the biscuits that had fallen out. She's very thoughtful that way.


Mmm...butter and chocolate...


I took out a scoop to save for the top of the mix once it was in its tray. Annoyingly, my 125ml measure is round at the bottom, so I had to create an improvised balancing structure for it while I mixed up the rest.


In went the biscuits, just lightly crushed so as to leave plenty of big pieces.


Then my glamorous assistant added the marshmallows.


A few cherries went in, as I had a few languishing in a tub and I want to clear up some space in the cupboard.


Some mixing was done to coat everything.


Then I poured it into the dish lined with greaseproof paper and smoothed it out best I could.


On the top went the remains of the chocolate, butter, and syrup mix. Into the fridge it went


A couple hours later I took it out and it looked like this.


The overhang of the paper meant I could lift it quickly out for easy cutting on the counter top.


But first a bit of icing sugar went on.


I then just put the slices right back into the dish I'd used.


Except for the quality control samples, of course.


This recipe does have a habit of mysteriously disappearing when left out...


The link to the full recipe is here.

Monday 20 January 2014

Cauliflower Pakora with Mango Raita

Around here, we are big fans of "two day meals", dishes that you prepare in large quantities and then eat two nights in a row. Yes, if you are really clever, you freeze the other half so it doesn't feel so much like leftovers, but we just aren't that organized most of the time. And it's kind of nice to have a break from cooking the next day after cooking a meal that size.

The night before these photos were taken my husband made a large curry, complete with naan. As we would just be heating up the leftovers the next day, I saw a cauliflower in the fridge and decided to try making a starter/side dish that would go well with the spices of our dinner. I had a recipe in my Veg Every Day cookbook for cauliflower pakora, so I thought I'd give it a bash as I had pretty much everything on the list of ingredients and it looked simple enough. 

One of our local corner shops used to sell little pakoras and samosas for hungry intoxicated people, but alas they have just shut and have posted a big sign in their window blaming the new local supermarket for their closure. I am sad to have lost a local business that supplied me with cheap large bags of spices, but I do wish they hadn't been so darned rude to their customers. Every time I went in I wanted to shout GET OFF THE PHONE or LOOK AT YOUR CUSTOMER, NOT THE TV. Instead I just quietly purchased my goods and muttered to myself. 

Ho hum, back to cooking things...


First I chopped some fresh coriander and added it with some mango chutney to some plain yoghurt. My kids pronounce yoghurt the American way - I have real trouble with the British pronunciation - it's hard enough adding that weird h in there.


Then I stirred it together and set it aside to let the flavours get to know each other.


Then in another bowl I put the flour, some baking powder, some salt, and some spices (coriander, cumin, and turmeric). The recipe asked for a bit more heat in the form of cayenne, but I didn't have any.


All those got whisked together to make sure they were well blended.


Then I gradually added water until it was a fairly thick consistency - like double cream he suggested.


In went the cauliflower.


It'll look better in a minute, trust me.


In small batches I fried them in a bit of oil, just a couple minutes on one side...


Then flipped them over and around a bit more afterwards if I thought they needed it.


Slowly I built up a pile.


A very good smelling pile.


Until it was time to serve up!


They were pretty good, though I might play with the spices to make them even more tasty.

Cauliflower Pakora with Mango Raita from Veg Every Day


  • 1 medium-large cauliflower (800g), trimmed and cut into small florets, no more than 2cm across in any direction.
  • Sunflower oil, for frying
For the batter
  • 150g chickpea flour (go to your local Indian store)
  • 1/2 t baking powder
  • 2 t ground cumin
  • 2 t ground coriander
  • 1/2 t ground turmeric
  • A good shake of cayenne pepper
  • 1/2 t fine sea salt
For the mango raita
  • 6 heaped T full-fat yoghurt
  • handful of chopped coriander
  • 2 tsp mango chutney
  • sea salt and freshly ground black pepper
  1. For the raita mix all the ingredients together seasoning with salt and pepper to taste. Put in the fridge.
  2. For the batter, put the gram flour, baking powder, ground spices and salt into a large bowl. Whisk to combine and get rid of any lumps. Slowly whisk in 175ml of icy cold water – you are looking for a batter with the consistency of double cream
  3. Add the florets into the batter and turn them to make sure they are thoroughly coated.
  4. Heat about 1cm depth of oil in a heavy-based pan over a medium-high heat. When the oil is hot enough to turn a cube of white bread light golden brown in 30-40 seconds, start cooking the pakoras, a few at a time so you don’t crowd the pan. Cook for about 2 minutes, until crisp and golden brown on the base, then turn over and cook for another 1-2 minutes.
  5. Drain the pakoras on kitchen paper, then serve piping hot with the raita for dipping